Class Diagrams and UML for Low Level Design: A Practical Introduction
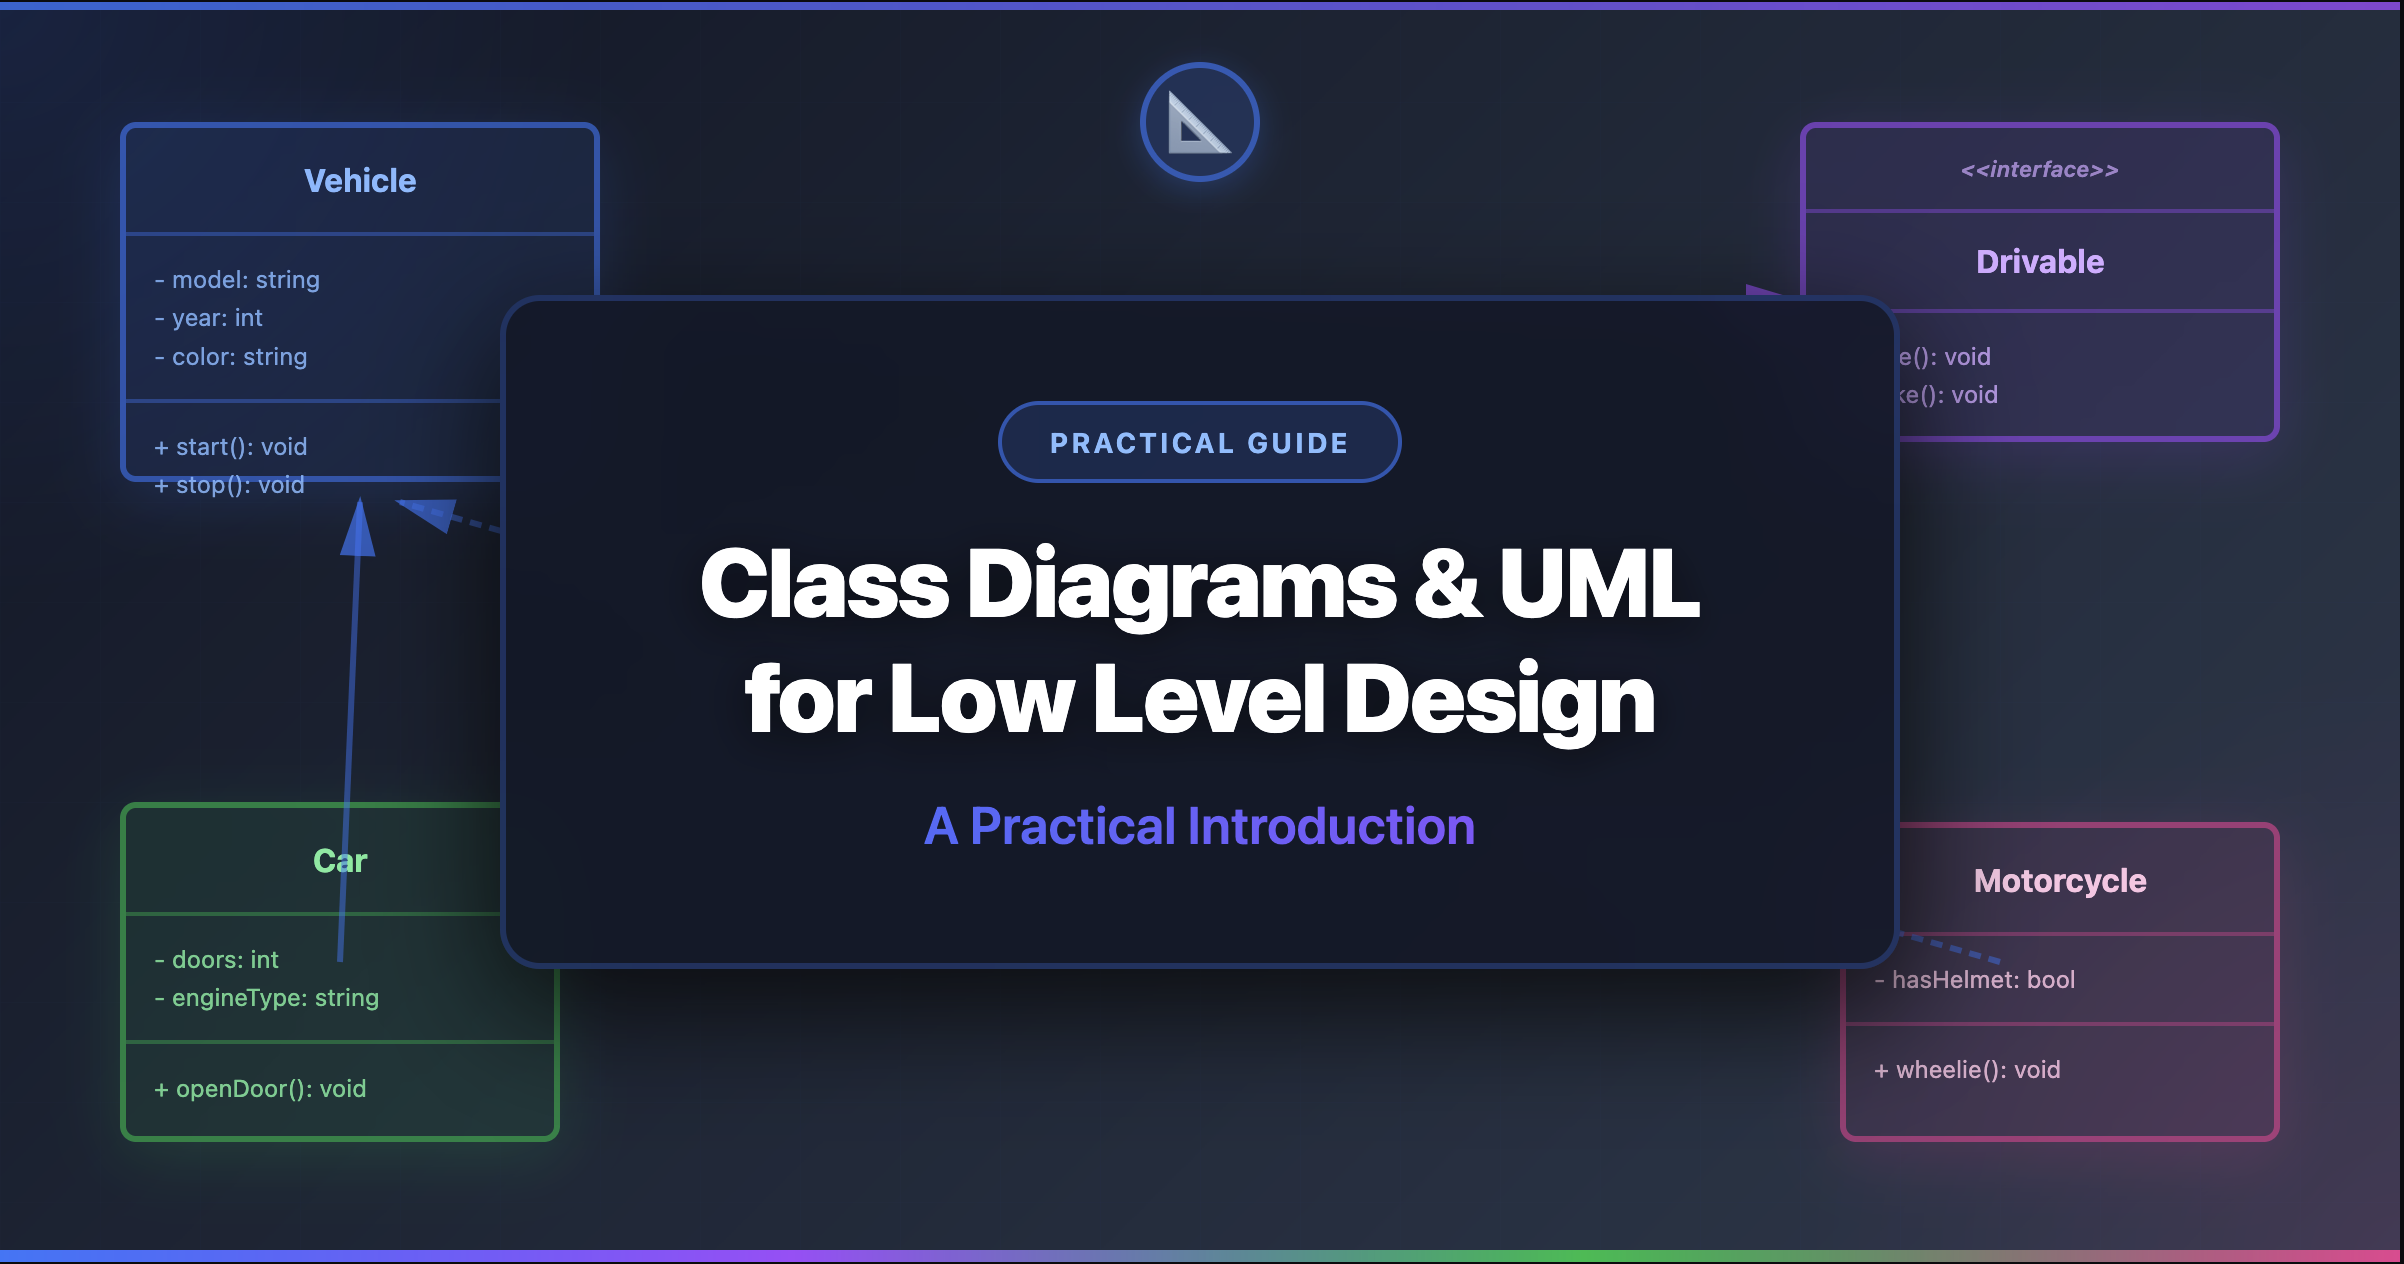
Class Diagrams and UML for Low Level Design
You’re in an LLD interview. You’ve identified the classes, thought through the relationships, and designed a clean architecture. Now the interviewer says: “Can you draw that out?”
If you can’t translate your thinking into a clear visual diagram, half your design work is invisible. UML (Unified Modeling Language) is the standard way engineers communicate software designs — and in LLD interviews, it’s the language of the whiteboard.
What You'll Learn
This guide teaches you to read and draw the three UML diagram types that matter most for LLD: class diagrams, sequence diagrams, and state diagrams. No theory overload — just the practical notation you need for interviews and real work.
The good news? You don’t need to learn all 14 UML diagram types. For Low Level Design, you need exactly three — and you can learn the essentials of each in minutes.
Why UML Matters (Even If Your Team Doesn’t Use It)
Where UML Helps
- LLD interviews: The expected way to communicate designs on a whiteboard
- Design reviews: Visual diagrams surface flaws that text descriptions hide
- Documentation: A class diagram is worth a thousand lines of code
- Onboarding: New team members understand the system in minutes, not days
- Refactoring: See the coupling and dependencies before you start changing things
Common Objections (And Why They're Wrong)
- “My team doesn’t use UML” → You still need it for interviews, and informal diagrams use UML notation anyway
- “UML is outdated” → The full specification is bloated; the core notation is timeless
- “Code is the documentation” → Code shows what is; diagrams show why and how things connect
- “It takes too long” → Text-based tools like Mermaid generate diagrams from a few lines
The Complete Notation Reference
Before diving into examples, here’s the notation you need. Save this as your cheat sheet:
That’s it. These symbols cover 95% of what you’ll ever need in LLD interviews and design documents. Let’s see them in action.
Part 1: Class Diagrams
Class diagrams are the backbone of LLD. They show the static structure of your system — what classes exist, what they contain, and how they relate.
Anatomy of a Class Box
Every class in UML is drawn as a rectangle divided into three sections:
- Top section: Class name (bold or centered)
- Middle section: Attributes (fields/properties) with visibility
- Bottom section: Methods (operations) with visibility
The visibility prefix tells you who can access what:
+getName()— anyone can call this-hashPassword()— only the class itself can call this#createdAt— the class and its children can access this
Your First Complete Class Diagram
Let’s build a class diagram for a simple coffee machine step by step:
Step 1: Identify the Entities
From the requirements, extract the nouns: CoffeeMachine, Beverage, Ingredient, Inventory, Order. These become your classes.
Step 2: Add Attributes and Methods
For each class, ask: “What data does it hold?” (attributes) and “What can it do?” (methods).
Step 3: Define Relationships
Ask: “How are these classes connected?” Does CoffeeMachine own its Inventory (composition)? Does an Order use a Beverage (association)?
Step 4: Add Interfaces for Flexibility
Where might behavior vary? Different beverage types? Different payment methods? These become interfaces.
Here’s the complete diagram:
Reading the diagram: The solid diamond (*--) from CoffeeMachine to Inventory means composition — the Inventory lives and dies with the CoffeeMachine. The simple arrow (-->) from Order to Beverage means association — an Order references a Beverage, but they have independent lifecycles.
Relationships in Action
Let’s see each relationship type in a real LLD context:
What this tells you at a glance:
- Composition (solid diamond): ParkingLot owns Floors, Floors own Spots — destroy the lot, everything inside is destroyed
- Inheritance (hollow triangle): Car, Truck, Motorcycle are all types of Vehicle — they share the base interface
- Association (arrow): A Ticket references a Vehicle and a Spot, but doesn’t own them
- Interface implementation (dashed + triangle): HourlyPricing and FlatRatePricing both fulfill the PricingStrategy contract
This is exactly the kind of diagram you’d draw in a parking lot interview.
Multiplicity: How Many?
Sometimes you need to show how many objects are in a relationship:
| Notation | Meaning | Example |
|---|---|---|
1 | Exactly one | An Order has exactly one Customer |
0..1 | Zero or one | A ParkingSpot has zero or one Vehicle |
* or 0..* | Zero or more | A Customer has zero or more Orders |
1..* | One or more | A ParkingLot has one or more Floors |
5 | Exactly five | A Dice has exactly six Faces |
Interview Tip
In interviews, you don’t need to always write multiplicity on every relationship. Use it when it clarifies important constraints: “A Member can borrow at most 5 books” → write 0..5 on the relationship from Member to Loan.
Part 2: Sequence Diagrams
While class diagrams show structure (what exists), sequence diagrams show behavior (what happens). They trace a single flow through your system, showing which objects interact and in what order.
Anatomy of a Sequence Diagram
How to read it:
- Solid arrow (
->>) = a request or call - Dashed arrow (
-->>) = a response or return - Time flows downward — interactions at the top happen first
- Each vertical line (lifeline) represents one object
This diagram shows the complete ATM withdrawal flow. In an ATM system interview, drawing this sequence diagram demonstrates you understand the interactions, not just the classes.
When to Use Sequence Diagrams
Use them for the critical flows in your system — the ones the interviewer will ask about:
| Problem | Key Flow to Diagram |
|---|---|
| Parking Lot | Car entry → spot allocation → ticket generation |
| Movie Ticket Booking | Select show → choose seats → payment → confirmation |
| Elevator System | Request → dispatch → pickup → travel → arrival |
| Rate Limiter | Request → check limit → allow/deny → update counter |
| Payment Processor | Initiate → validate → process → confirm/fail → receipt |
The Interview Move
After drawing your class diagram, proactively say: “Let me trace through the main flow with a sequence diagram.” This shows you think about both structure and behavior — a senior-level skill.
Part 3: State Diagrams
State diagrams show how an object transitions between states in response to events. They’re essential for any problem with a lifecycle: orders, bookings, elevators, vending machines.
A Vending Machine State Diagram
How to read it:
- Circles represent states the object can be in
- Arrows represent transitions triggered by events
[*]is the initial state- An object is always in exactly one state
This is exactly the state machine you’d design for a vending machine. Each state maps to a class in the State pattern.
Order Lifecycle State Diagram
This order lifecycle applies to any restaurant ordering system. Each state becomes an enum value, and the transitions become the validation logic in your service layer.
Complete Worked Example: Library Management System
Let’s bring it all together. We’ll design a Library Management System using all three diagram types — exactly as you would in an interview.
1. The Class Diagram
2. The Sequence Diagram (Borrow Flow)
3. The State Diagram (Book Lifecycle)
Three diagrams, one complete design. The class diagram shows what exists, the sequence diagram shows how borrowing works, and the state diagram shows when a book changes status. Together, they give the interviewer complete confidence that you understand the system.
Tools for Drawing UML
You don’t need expensive software. Here are the best tools, ranked by how useful they are for LLD:
| Tool | Type | Best For | Cost | Learning Curve |
|---|---|---|---|---|
| Mermaid | Text-based | Docs, blogs, quick diagrams | Free | Low |
| D2 | Text-based | Beautiful auto-layout diagrams | Free | Low |
| PlantUML | Text-based | Comprehensive UML (all 14 types) | Free | Medium |
| Excalidraw | Sketch | Whiteboard-style, hand-drawn feel | Free | Very Low |
| draw.io | Visual editor | Drag-and-drop, precise layout | Free | Low |
| Lucidchart | Visual editor | Team collaboration, templates | Freemium | Low |
Mermaid is text-based — you write a few lines of markup and get a rendered diagram. It lives in your codebase alongside your code, it’s supported by GitHub, GitLab, Notion, and most documentation tools, and it’s version-controlled with git.
Here’s how simple it is:
classDiagram class Dog { -name: String +bark(): void } class Cat { -name: String +meow(): void } Animal <|-- Dog Animal <|-- CatThat’s it. Paste that into any Mermaid-supported tool and you get a professional class diagram. No dragging boxes, no aligning arrows, no exporting PNGs.
For interviews (especially virtual ones), Excalidraw’s whiteboard-style sketching is perfect. It feels natural, the hand-drawn style communicates “this is a design, not a spec,” and it’s fast to use with keyboard shortcuts.
Use Excalidraw when you’re brainstorming or interviewing. Switch to Mermaid when you’re documenting.
D2 produces the most visually stunning diagrams of any text-based tool. If you’re creating diagrams for documentation, presentations, or blog posts where aesthetics matter, D2 is worth the small learning curve. It supports themes, auto-layout, and even animated diagrams.
Common Interview Mistakes with UML
Tips for Drawing Clean Diagrams
The 5 Rules of Interview Diagrams
- Start with 5-8 classes — you can always add more. Starting with 15 creates confusion.
- Interfaces at the top, implementations below — creates a natural visual hierarchy.
- Group related classes — put all payment-related classes near each other.
- Label relationships — a word on the arrow (“owns”, “uses”, “creates”) makes the diagram self-documenting.
- Draw the sequence diagram for the main flow — this proves you understand how objects interact, not just what they are.
Key Takeaways
Remember These
- Three diagram types matter for LLD: Class diagrams (structure), sequence diagrams (behavior), state diagrams (lifecycle)
- Memorize 6 relationship arrows: Dependency, association, aggregation, composition, inheritance, implementation
- Memorize 4 visibility symbols: + public, - private, # protected, ~ package
- Use Mermaid for documentation and practice — it’s text-based, free, and everywhere
- Start small: 5-8 classes first, add more only if needed
- Draw sequence diagrams proactively — it’s a senior-level signal in interviews
- State diagrams for lifecycle problems — vending machines, orders, bookings, elevators
What to Read Next
- What is Low Level Design? — Understand how UML fits into the LLD process
- OOP Concepts — The class relationships that UML diagrams visualize
- UML Class Diagrams (Full Reference) — In-depth syntax with code examples in Python, Java, and TypeScript
- Class Relationships Guide — Deep dive into association, aggregation, composition, and dependency
- Top 20 LLD Interview Questions — Practice drawing diagrams for real problems
- LLD Playground — 40+ problems where you’ll use these diagrams
“A picture is worth a thousand words. A good UML diagram is worth a thousand lines of code.” — Grady Booch, co-creator of UML
The best designers don’t just think in objects — they communicate in diagrams. Master the notation in this guide, practice on a few playground problems, and you’ll walk into your next interview ready to draw designs that speak for themselves.